Showing posts with label Caramel. Show all posts

Wednesday, December 19, 2012

12 Days of Goodies: Day 8 - Salted Caramel Chocolate Chip Cookie Bars

The name is a mouthful, but it's totally worth it for these cookie bars. They're so gooey and delicious it's almost impossible to stop eating them. Thanks to Brown Eyed Baker for the recipe idea!

I used my own chocolate chip cookie dough recipe, and since I was using a 9x13 pan I used an entire 14 oz. bag of caramels instead of 11 oz. as the original recipe calls for in an 8x8 pan. I thought there was still plenty of caramel flavor and texture without fully doubling the caramel called for, but feel free to use 22 oz. instead of 14, if you want. Also, to make this recipe even easier, you can use store-bought cookie dough. I'd use two packages, one for the bottom crust, one for the top, if you're using a 9x13 pan.

I think this recipe would be really versatile, too - it would be excellent with peanut butter cookie dough, or oatmeal chocolate chip, or even sugar cookie dough. I love recipes that I can easily change up for a delicious treat!

Salted Caramel Chocolate Chip Cookie Bars
1 c. melted butter
1 c. brown sugar
1 c. sugar
2 eggs
2 tsp. vanilla
1 tsp. salt
1 tsp. baking soda
3 1/2 c. flour
1 1/2-2 c. chocolate chips
14 oz. bag of caramels, unwrapped
2 Tbls. milk or cream
1. Preheat oven to 325 degrees, and grease a 9x13 pan.
2. Stir together melted butter, and both sugars until smooth.
3. Stir in eggs, vanilla, salt, and soda.
4. Stir in flour until just combined, and then stir in the chocolate chips.
5. Spread half the dough in the prepared pan.
6. Melt together caramels and milk until smooth. Pour over dough in the pan.
7. Use the rest of the cookie dough to spread over the top of the caramel, doing your best to make sure all the caramel is covered.
8. Bake about 45 minutes, until the edges are golden brown, and the top is lightly browned. Allow to come to room temperature, then refrigerate for about half an hour before cutting.


Hugs and cookies,

Amanda

Wednesday, October 17, 2012

Peanut Butter Snickers Bars

Sometimes I have a great idea for a recipe and am so excited to make it that I don't check the ingredients I have on hand first. Sometimes it's a disaster. Other times, it turns into a scrumptious treat that becomes a family favorite! The latter is what happened with this recipe, thankfully.

I had a craving for those little peanut butter cookies that have a Snickers hidden on the inside, but didn't feel like going through the work of rolling each individual ball. So, I went to my go-to, all-time-favorite, Peanut Butter Cookie recipe. I thought I would just chop up the fun-size Snickers I "knew" we had on hand and stir them into the batter . . . Well, as it turned out there were only 4 left! (I have no idea how that happened - it's like we have an uncontrollable, chocolate-craving, pregnant lady in our house or something.) Clearly 4 measly little pieces would not be enough for an entire pan of bars.

I got to thinking - what else did I have on hand? Milk chocolate chips? Check. Peanuts? Check. Caramel bits? Check. Sounded like Snickers to me! I stirred those into the cookie dough, spread it in the pan, topped it with what Snickers I did have and let it bake. Ooo-la-la - chewy, crunchy, deliciousness. Sometimes the best recipes come out of the blue!
*If you don't have those additional ingredients, you can certainly follow my original plan and just stir chopped Snickers into the dough.

Peanut Butter Snickers Bars
2 1/2 c. flour
1 tsp. salt
1/2 tsp. baking soda
1/2 tsp. baking powder
1 c. (2 sticks) softened butter
1 c. light brown sugar
1 c. sugar
1 c. peanut butter (we had creamy on hand, so that's what I used)
2 tsp. vanilla
2 large eggs
3/4 c. peanuts, chopped
1 c. caramel bits
1 1/2 c. milk chocolate chips
4 (or more) fun-size Snickers, chopped
1/4 c. chocolate chips (for drizzling, if desired)
1. Preheat oven to 350. Grease a 9x13 pan and set aside.
2. Beat butter with sugars until creamy - 2 minutes. Scrape down sides of bowl.
3. Add peanut butter, vanilla, eggs, baking powder, baking soda, and salt and beat again.
4. Stir in flour until almost combined.
5. Add peanuts, caramel bits, and chocolate chips, and mix until just combined.
6. Spread evenly in pan and sprinkle with chopped Snickers. Bake 25-28 minutes, or until light golden brown on top.
7. Melt 1/4 c. chocolate chips and use a fork, spoon, or plastic baggie to drizzle over the top of the bars. Allow to cool before cutting.


Friday, September 21, 2012

Crunchers

These no-bake treats will please any palate. They're crunchy and salty from the crackers, chewy from the caramel, and sweet from the chocolate topping. You can't go wrong with a sweet-salty, chewy-crunchy treat, right? Right.

As I said, these are no-bake, so the Club crackers serve as the base, as well as some of the middle layers. You might think these wouldn't have a very long fridge life (soggy crackers, anyone?), but I can reassure you on that point. These were in our fridge at least 5 days and they were just as crunchy the day we gobbled up the last bite as the day we first tried that deliciousness. (And they only lasted that long because I made them on a Thursday and we were out of town over the weekend.)

Most of these ingredients are probably ones you have on hand, which is always a bonus - I did have to go out to buy the Club crackers; I bought the reduced fat ones and they worked perfectly for me. Seriously, if you're looking for an easy treat (it's almost like candy) you should definitely give these babies a try!

Crunchers (original recipe can be found here)
80-90 Club crackers
1 c. butter
2 c. graham cracker crumbs
1 c. brown sugar
1/3 c. sugar
1/2 c. milk
2/3 c. peanut butter
1/2 c. semi-sweet chocoalte chips
1/2 c. butterscotch chips
1. Line a 13x9 pan with foil, leaving enough overhang over the sides to lift bars out when done.
2. Place one layer of crackers evenly over the bottom of the pan - cut them if they don't fit evenly. I used 30 crackers per layer and didn't have to cut them.
3. Melt butter in a saucepan over medium heat. Add graham cracker crumbs, both sugars, and milk. Bring to a boil (while stirring), and boil for 5 minutes.
4. Remove from heat and spread half the mixture evenly over the crackers in the pan.
5. Place another layer of crackers over the caramel mixture, followed by the rest of the caramel.
6. Cover the top of the caramel with one more layer of crackers and refrigerate while making the topping.
7. Microwave peanut butter, chocolate chips, and butterscotch chips for one minute. Stir until smooth (can microwave another 30 seconds if it's not smooth). Spread over the top of the crackers and refrigerate everything for at least an hour before cutting.
* Remove bars from pan using foil handles to make cutting and removing bars easier. Store in the refrigerator.


Hugs and cookies,

Amanda

Tuesday, August 14, 2012

Caramel Toffee Chocolate Chip Bars with Caramel Frosting

I haven't been doing a ton of baking lately (I don't even feel like myself!) because we've been traveling a lot for vacations, and weddings and things, but I finally got back in the kitchen the other day to bake up these gems. The bars themselves were really good, even without the frosting - the frosting enhances that caramel flavor and gives them more sweetness. Warning: If you don't like your bars overly sweet, leave off the frosting. (Although, keep the recipe on the hand because this frosting would be great on a cake . . . or brownies!)

The bars come together really quickly and stay nice and moist for days as long as you keep them covered. I was really happy with the way the caramel frosting turned out, too, because it's something I've wanted to try for quite a while, but have always been a little intimidated. Many of the recipes either require a candy thermometer, or say "Use immediately before it hardens!" That always scares me off because I start to think, "Well, what if I don't use it in time?! Will I have to throw it out? What a waste of time and ingredients!" Well, this recipe didn't require a thermometer, and it didn't come with a warning either. Best of all? It's delicious. I'll definitely use it again.

Caramel Toffee Chocolate Chip Bars (slightly adapted from here)
1 pkg caramel cake mix, dry
2 eggs
1/4 c. water
1/4 c. brown sugar
1/4 c. butter, softened
1 c. chocolate chips
1/2 c. toffee pieces
1. Preheat oven to 375, and grease a 9x13 pan.
2. Mix together cake mix, eggs, water, sugar, and butter until dough comes together; 1-2 minutes.
3. Stir in chocolate chips and toffee pieces.
4. Spread in prepared pan and bake 24-27 minutes, or until golden brown on the top.

Caramel Frosting (from The Cake Mix Doctor Returns)
4 Tbls. butter
1/2 c. brown sugar (if you have both light and dark on hand, use half of each)
1/8 c. milk
1 c. powdered sugar
1/2 tsp. vanilla extract
1. Place butter and brown sugar in a medium saucepan on medium heat. Stir constantly while it comes to a boil.
2. Once boiling, add the milk, stir, and let it return to a boil.
3. Remove from heat and stir in powdered sugar and vanilla.
4. Use frosting while it's still warm; it will set as it cools.


Hugs and cookies,

Amanda

Tuesday, July 24, 2012

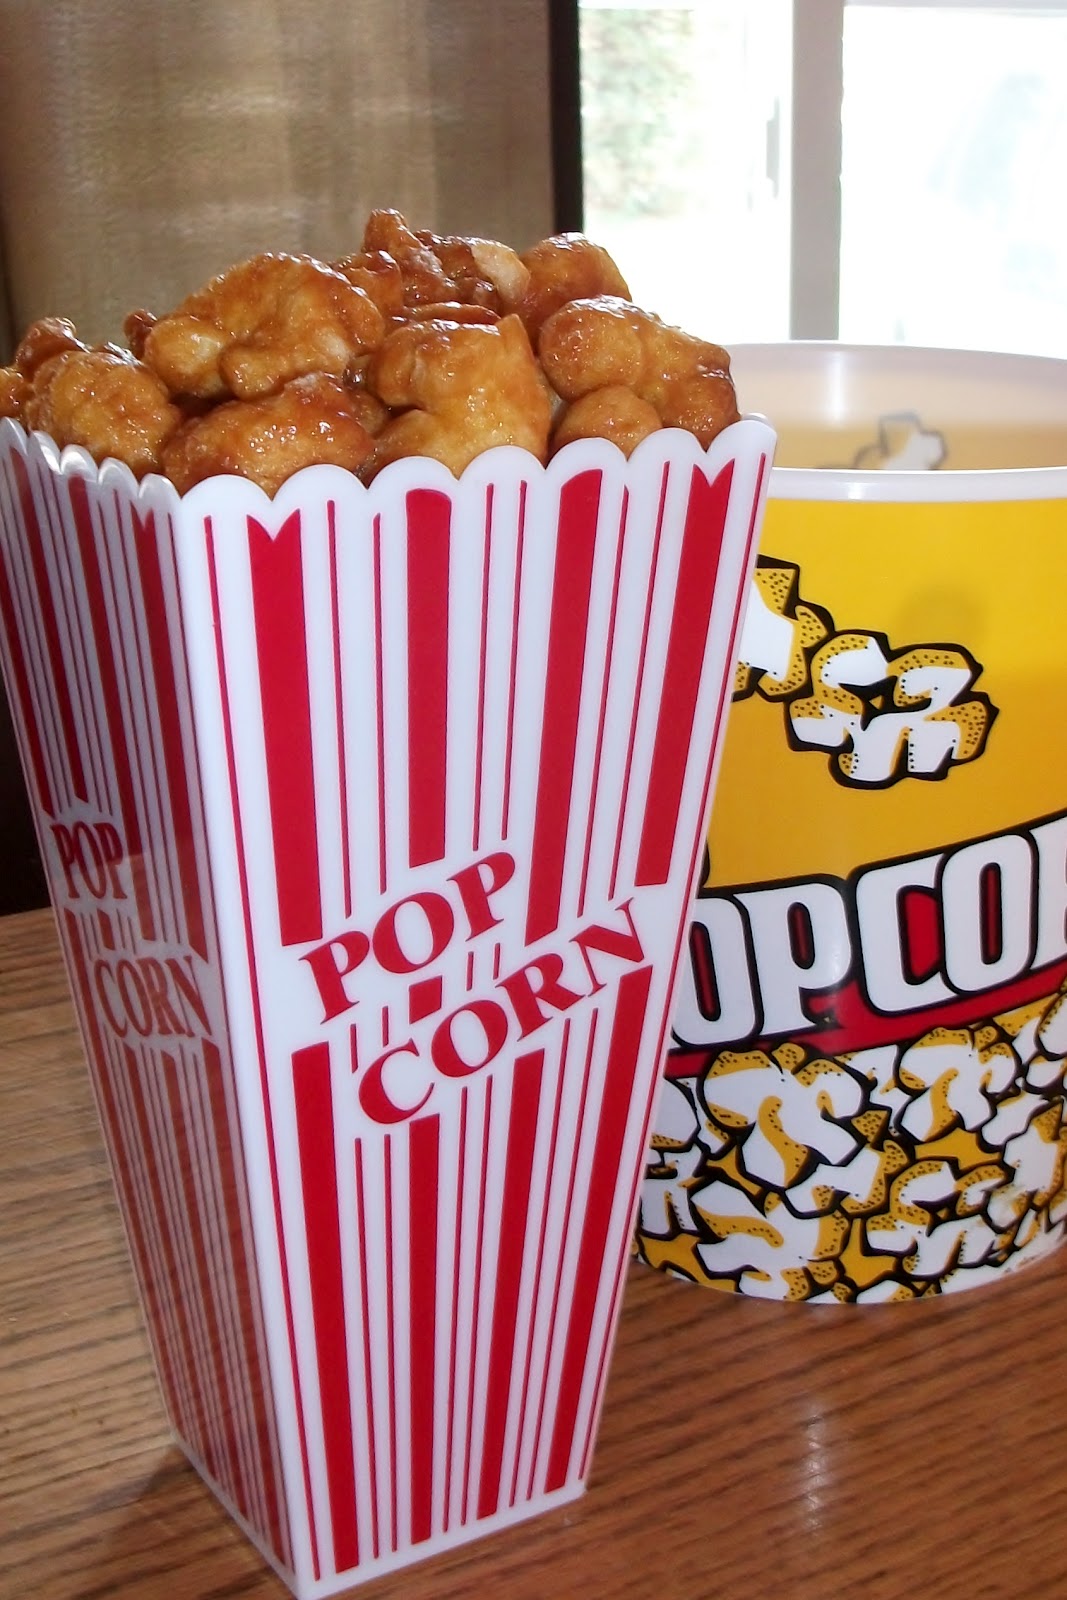
Caramel Puffcorn

Remember when I told you about our family tradition of watching a movie with the boys every Friday night? The boys and I love, love, love popcorn, so I decided to change things up from our usual butter and salt and make something that reminds me of my own childhood.

This wasn't a tradition at my family's house (actually I don't think I ever had it there), but I remember having it at friends' houses (I can't even remember whose anymore . . . I think I was in elementary or middle school) and I absolutely loved it. I couldn't get enough. And when I made it recently, it was just as good as I remembered.

I love using the puffcorn in place of popcorn just because it adds a different texture and flavor. Don't get me wrong, I love me some caramel corn too, and think this recipe would be smashing if you subbed regular popcorn, but the puffcorn is a nice touch. You can find it in the chip aisle of your grocery store, and I just get the butter flavored bag of it. I think the butter flavor is part of what makes this a tad different than regular caramel corn, so if I use this recipe with popcorn, I might use buttered popcorn . . . A little extra indulgence never hurt anyone, right?

I should note that the boys weren't as big of fans of this as plain popcorn, but I think that's because it's a little harder for them to eat - the pieces are bigger, and the caramel is tougher to bite through than plain popcorn. That being said, I'm sure they'll love it when they're a little older, and in the meantime I guess I'll just be packin' on the pounds devouring it by myself! :)

Caramel Puffcorn (original recipe can be found here)
1 pkg. puffcorn - I think it comes in 8 oz bags
1 c. butter
1 1/4 c. brown sugar
2/3 c. light corn syrup
1 tsp. baking soda
1. Grease a roasting pan and preheat oven to 250 degrees. Pour puffcorn into greased pan.
2. In a medium saucepan, bring butter, brown sugar, and corn syrup to a boil and boil for 2 minutes, stirring occasionally.
3. Remove from heat and stir in baking soda (this will cause your mixture to foam up, so don't panic!)
4. Pour caramel over puffcorn and stir thoroughly.
5. Bake 45 minutes, stirring every 15 minutes to make sure it's evenly coated and doesn't burn.
6. Remove from oven and spread on waxed paper to cool. Break into pieces once it's cool and store in an airtight container.
*I stupidly made this when it was 100 degrees outside . . . I don't recommend that unless you have super AC in your house/apartment because it's hot.


Hugs and cookies,

Amanda

Wednesday, December 14, 2011

12 Days of Goodies - Day 6: Turtle Cookies

I love turtles - the combination of caramel, pecans, and chocolate gets me every time. So when I saw a recipe from Betty Crocker called Caramel-Fudge Turtle Cookies, I knew it was one I wanted on my Christmas cookie list. The original recipe is here, but I changed it up to use more of a chocolate chip cookie dough base (minus the chocolate chips) and instead of fudge ice cream topping, I used melted chocolate chips because I thought the cookies would hold up and and travel better that way. I also turned it into more of a thumbprint cookie because I thought dipping half the cookie in caramel would also be too messy. The result was delicious, and I hope you give them a try!

Turtle Cookies
1/2 c. softened butter
1 c. white sugar
1 egg
1 tsp. vanilla
1/2 tsp. salt
1/2 tsp. soda
2 c. flour
12 caramels
1 T. milk
1/2 c. semi-sweet chocolate chips
1/4 c. chopped pecans
1. Preheat oven to 350 degrees and line a baking sheet with parchment paper.
2. Cream butter and sugar on med.-high speed until light and fluffy, 2 minutes.
3. Scrape down bowl, add egg, vanilla, soda, and salt and beat again for 3 minutes.
4. Stir in flour until just combined. Drop by Tbls. onto prepared baking sheet and bake for 7 minutes.
5. Take out of the oven and press your thumb into the center of each cookie, and return to oven for 3-4 minutes. Remove from the oven and re-press your thumb to make an indentation, and allow cookies to cool.
6. Melt caramels and milk in microwave for approximately 1 minute, and stir to combine. Using a 1/4 tsp., spoon caramel into cookie indents, and use the back of the spoon to spread around.
7. Melt chocolate chips for appr. 1 minute, and use a 1/2 tsp. to spoon over caramel and spread slightly. Sprinkle a few chopped pecans on each and allow to cool. Eat up!


On a side note: The boys have been playing so nicely together lately, and sometimes it makes my heart so full of love I can literally feel it in my chest. It's the most wonderful feeling! We're gearing up for Christmas, and I think we'll celebrate over this coming weekend because we'll be heading to our families for Christmas Eve and Christmas Day. I can't wait to see how much fun the boys have - Asher is so excited, and Aiden gets excited just because Asher is. All I'm hoping for is good weather and healthy boys! I also finally got Christmas cards out this year after wanting to for four years now - I patted myself on the back already. ;)
The family photo we used for our Christmas card.
The other photo we used - I love Asher's smile in this one,
and that Aiden's reaching for him :)
We didn't use this one, but I think it's hilarious
Mr. Sweet Face