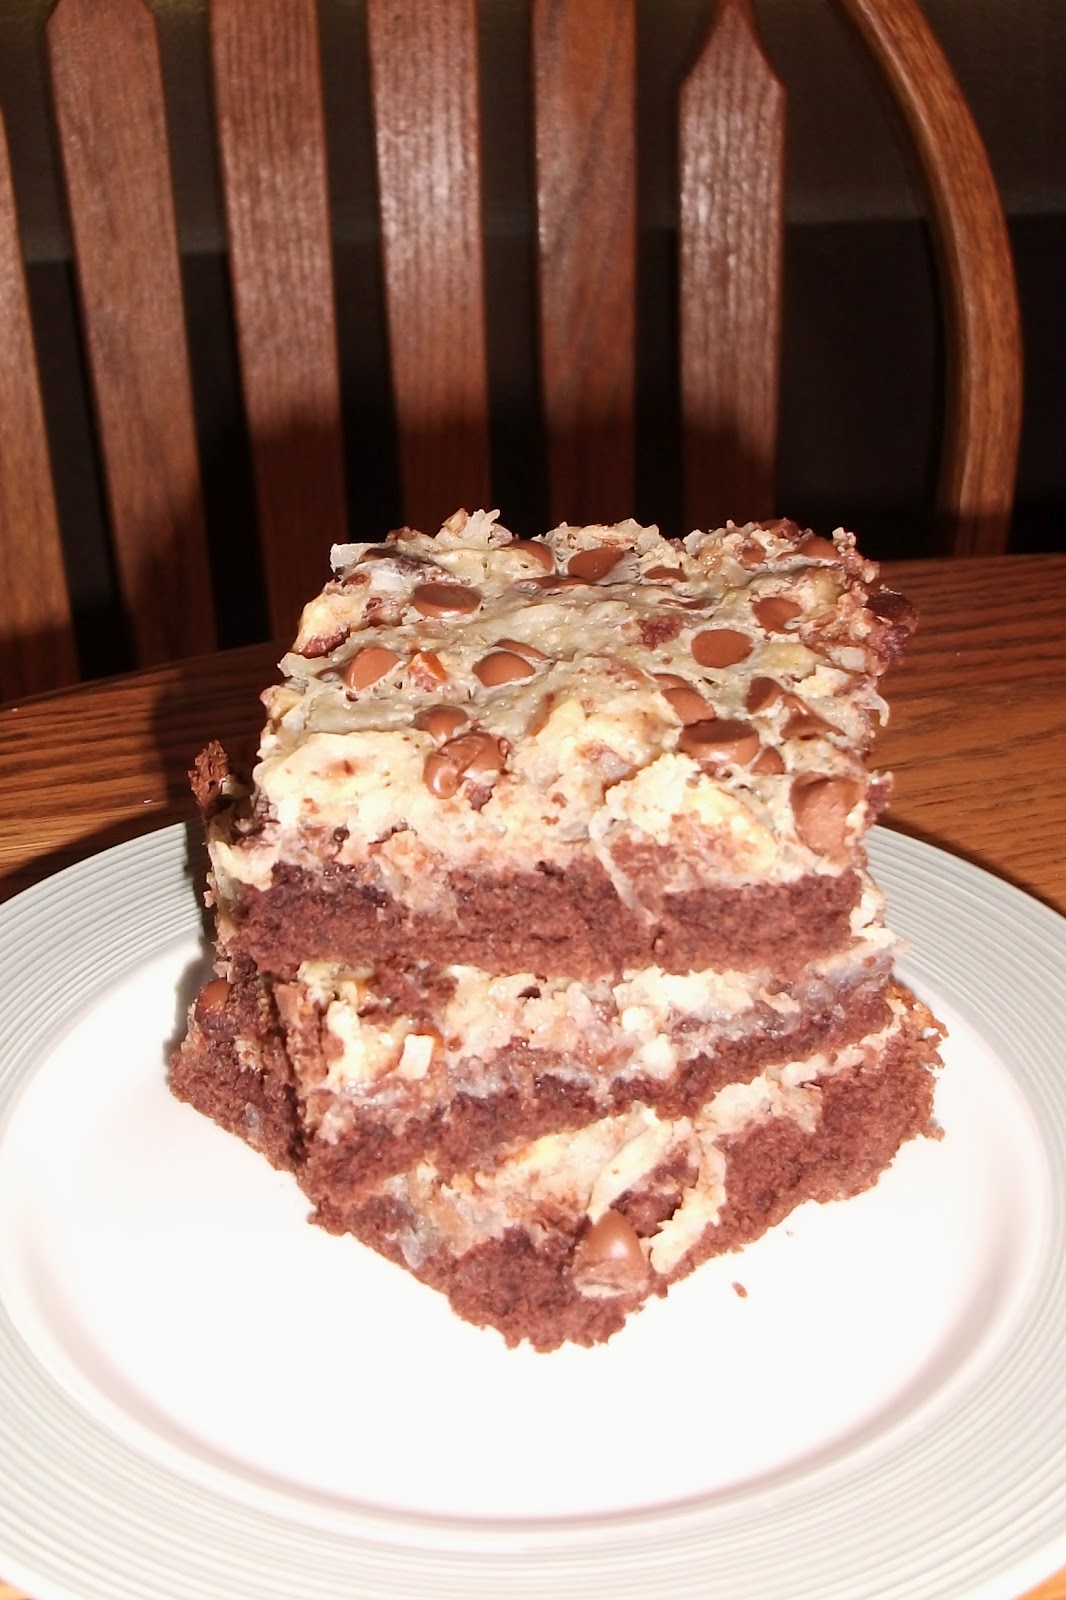
For my birthday, my parents got me "The Cake Mix Doctor Returns" and I've been dying to try out one of the cakes. I decided to go with the Coconut Refrigerator Cake for two reasons: 1) I've wanted to make a coconut cake of some kind for about a year now, but haven't found an occasion to do it, and 2) It looked so pretty and festive in the book.
The recipe itself is simple, both for the cake and frosting. However, I definitely ran into problems with the frosting because it would not stay on the cake! It was
really frustrating and time consuming to get it to look decent. BUT, don't worry, I have some suggestions below as to alternatives which should make it much easier next time. The wonderful thing about this cake is that it's a refrigerator cake, so you can make it ahead of time and it only gets better as it sits in the fridge. I sliced a piece and then took the rest over to my old work pals as part of their Christmas goodies. So far, the two bites Asher and I have had were very well received.
This. Cake. Is.
Delicious. I will definitely be making it again!
 Coconut Refrigerator Cake
Cake
Coconut Refrigerator Cake
Cake
1 pkg. white cake mix
1 c. milk
1/2 c. cream of coconut (can be found by the mixed drink ingredients; be sure to stir it well first)
3 eggs
1. Preheat oven to 350 degrees. Grease and flour 3 9-inch cake pans.
2. Put all ingredients in mixing bowl and mix on low speed for 30 seconds.
3. Scrape down sides of bowl and beat batter on medium speed for 1 1/2 minutes.
4. Divide batter evenly in cake pans - approximately 1 1/2 c. each. Bake for 18-23 minutes, or until light golden brown, and the top springs back when lightly pressed with your finger.
5. Allow to cool in pans for 5 minutes, then run a knife around the edges and turn cakes out to cool completely on wire racks.
Frosting
2 c. reduced fat sour cream
1 3/4 c. white sugar
8 oz. frozen whipped topping, thawed
3 1/2-4 c. sweetened, flaked coconut
1. Place sour cream and sugar in mixing bowl and beat on low for 1 1/2 minutes. Scrape down bowl and beat on medium until the sugar has dissolved - 2 more minutes.
2. Add whipped topping and beat on low until well blended.
3. Stir in 3 c. coconut, and refrigerate at least 10 minutes
Assembly
1. After cakes have cooled, slice each in half horizontally using a serrated knife - you'll have six layers. Brush layers lightly with cream of coconut, if desired. (I did this for three of the six layers.)
2. Put four strips of waxed paper forming a square and set the first cake layer on it. (This prevents frosting from getting your platter messy). Top cake with a heaping 2/3 c. frosting. Place another layer on, and repeat layering cake and frosting until the top layer is on.
3.
Here is where I went wrong, and now you won't. You can use the rest of the frosting to frost the top and sides of the cake. If so, here are my tips: 1) Start on the top and put frosting on, and slowly work it to the edges and down the sides. It
will slide off onto your waxed paper. 2) Do
not try to keep putting more frosting on the sides. You will spend forever trying to do this. Whatever sticks with the first application is all that will stick. I mistakenly thought if I refrigerated it and then tried to put more on it would work . . . it didn't. So, frost the top and sides and stick it int he fridge. 3) After it sits in the fridge for an hour or so, take it out and sprinkle the top and press the sides with the remaining 1 c. of coconut. This helps cover any imperfections the frosting didn't cover. I think I would do it this way next time.
Or
If you don't want to mess with that process, here's an alternative: Make half of the frosting recipe and just use it as filling between the layers. It's
way too delicious to not use it at all. For the top and sides, you can then use a cream cheese frosting, or a coconut buttercream - I think either would be yummy.
If you learn from my mistakes, you shouldn't have problems. Or maybe your frosting will stick nicely to your cake and not run at all . . . According to the recipe, she adapted this frosting because in her previous recipe the frosting wouldn't stick and kept dripping down the sides . . . Hmmm, that's still happening to me with this one, but maybe you'll have more success. Like I said, I'll definitely be trying this one again. SO GOOD.
*Don't forget to gently pull your waxed paper from the edges of your cake before serving!
 |
| Look at that mess!!! |
 |
| Drippy drippage. |
 |
| Ta-da! Fixed it - and thank goodness I used the waxed paper trick or it would have been much harder to clean up. |
 |
| Looks pretty nice, now, right? |
 |
| It cuts beautifully, too. |
 |
| 12 layers of cake and frosting . . . what could be bad about that?! |
 |
| It really is a delicious cake. |

 Better-Than-Mounds Bars (original recipe can be found here)